
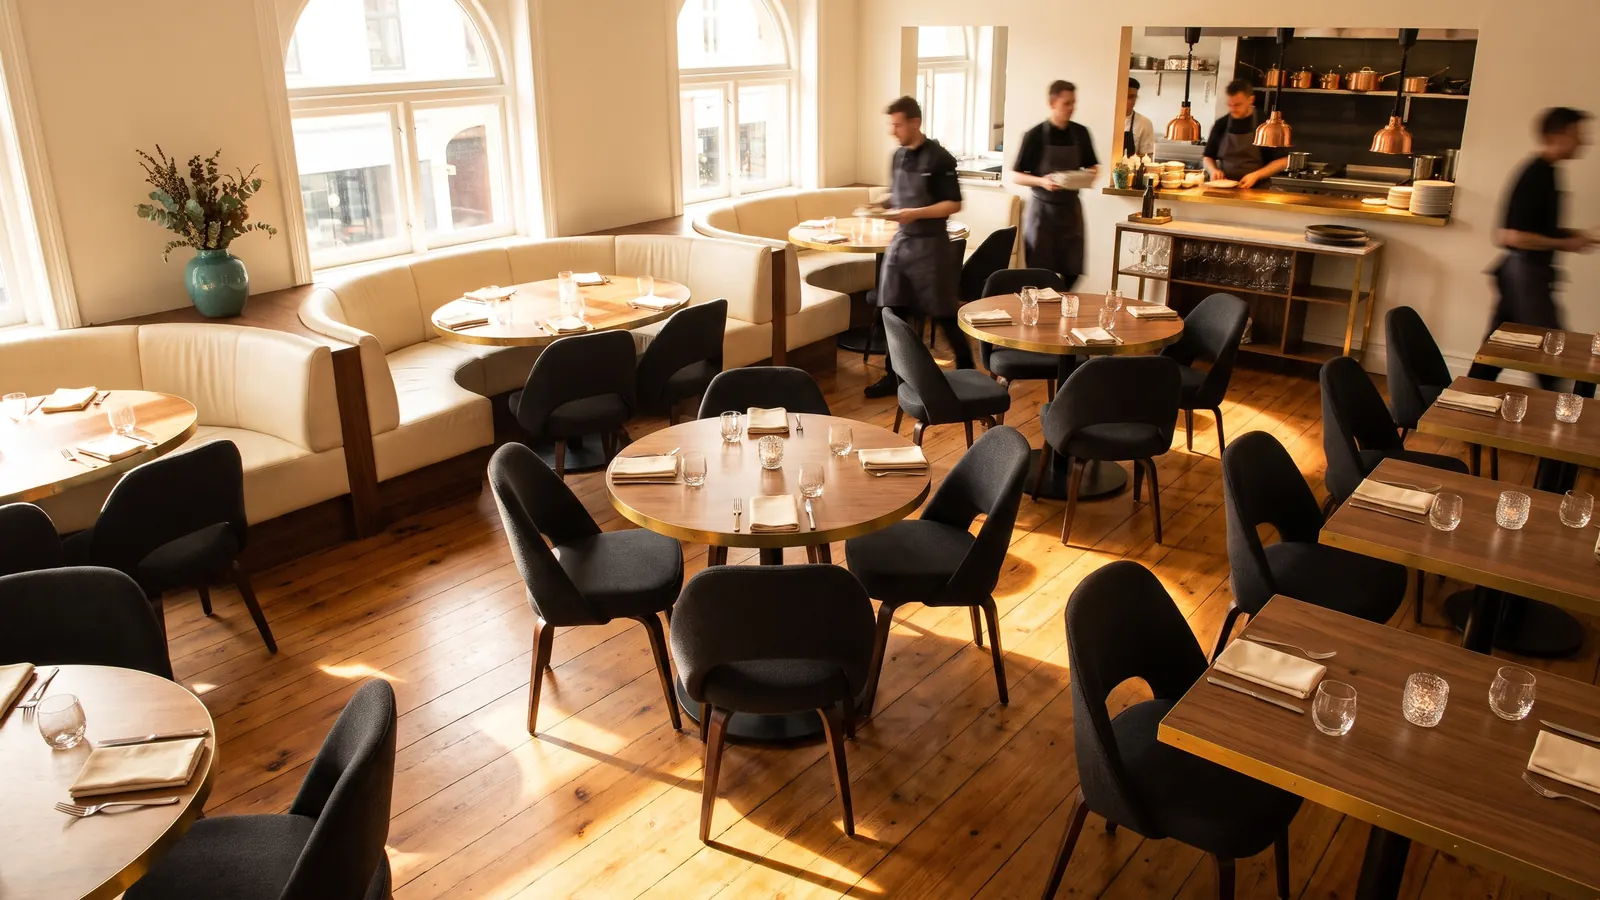
Your restaurant floor plan decides how many guests you can seat, how many steps a server takes per table, and whether a full Saturday feels calm or chaotic. A good plan lets food, guests, and staff move without crossing paths, and it matches your tables to the parties who actually walk in. Here's how to split the space, size the dining room, choose a table mix that fits your guests, and avoid the bottlenecks that slow down turns.
Start with front of house and back of house
A common starting point is roughly 60 percent of the space for the dining room and 40 percent for the kitchen, storage, dish, and other back-of-house areas. Treat that as a first draft. A scratch kitchen with heavy prep, a bakery program, or a big catering business needs more room in back. A bar-forward concept with a short menu can give more to the front.
Plan the kitchen first. The menu sets the equipment, the equipment sets the line, and the line sets how much room the kitchen needs. Squeeze the kitchen to add six seats and you may sell fewer covers, because a cramped line can't keep up on a full night.
How much space per seat
Designers and furniture suppliers commonly publish these planning ranges for dining room space per seat. Each figure covers the table, the chair, and a share of the aisles around them.
| Format | Typical dining room space per seat |
|---|---|
| Fine dining | 18 to 20 sq ft |
| Full service, casual | 12 to 15 sq ft |
| Quick service | 11 to 14 sq ft |
| Banquet and event seating | 10 to 11 sq ft |
Here's how that plays out. A 2,000 square foot dining room planned at 15 square feet per seat holds about 133 seats on paper (2,000 ÷ 15). At 18 square feet per seat, the same room holds about 111. That 22-seat difference is a choice about service style, guest comfort, and how fast servers can move, so make it on purpose.
Your building and fire codes set the legal maximum. Many jurisdictions use the International Building Code, which figures occupant load for dining areas with tables and chairs at 15 net square feet per person. Your architect and fire marshal have the final word, and accessibility clearances can lower your count further.
Choose a table mix that matches your parties
Pull a few months of party-size data from your reservation system or POS reports. If most of your parties are couples, a room full of four-tops leaves seats empty every night.
Here's the math. It's 7:30 on a Friday, your 80-seat room has 20 four-tops, and every table is taken. Twelve of those tables are seating couples. You're seating 56 guests (12 × 2 plus 8 × 4) in 80 seats, which is 70 percent seat use, with a line at the host stand.
Now keep the same 80 seats but swap 8 four-tops for 16 two-tops that can push together. That gives you 12 four-tops and 16 two-tops, 28 tables in all. The same 12 couples sit at two-tops, and all 12 four-tops are free for larger parties. Fill those with parties of four and you're seating 72 guests, or 90 percent seat use, with four two-tops still open for the next couples on the list. Same square footage, more covers per turn.
A few more table notes:
- Two-tops that combine give you flexibility for fours, sixes, and the occasional birthday table.
- Rounds handle odd-numbered parties well, though they don't push together neatly.
- Booths and banquettes add seats along walls and plenty of guests ask for them, but they're fixed. For sizing, see our guide to restaurant booth dimensions and table sizes.
- Commercial grade matters. Tables get bumped and chairs get dragged every shift, and commercial restaurant furniture is built to take daily wear that residential pieces can't.
Map the paths: guests, servers, food, and dishes
Draw four routes on your plan in different colors and look for crossings.
- Guests: door, host stand, waiting area, table, and restrooms.
- Servers: server station, tables, POS, bar service well, and the kitchen pass.
- Food: line, pass, expo, and tables.
- Dishes: tables, bus station, and dish pit.
Wherever two routes cross at a busy point, someone waits or something spills. Common fixes:
- Keep the restroom path away from the kitchen doors and the pass.
- Give the host stand a clear view of the room so the host sees tables open up.
- Put a server station within a short walk of every section, stocked for side work.
- Place POS terminals where a server can ring in without blocking an aisle.
- Use separate in and out kitchen doors, or one wide doorway with a clear traffic rule.
- Size the waiting area for your real peak wait. A bar near the door can double as the waiting area.
Draw server sections onto the plan
A floor plan is finished when the sections are on it. Sketch each server's tables as one connected block, close to their station, so nobody crosses the room to refill a water. Balance sections by seat count and table type, since a section of four-tops works harder than a section of deuces.
Then think about pacing. When the host seats one section three times in five minutes, that server falls behind and the kitchen gets a wave of tickets at once. Clear sections make it easier for the host to rotate seating across the room, which keeps tickets steady on the line and turn times predictable.
Build accessibility in from day one
The 2010 ADA Standards for Accessible Design set minimums every dining room has to plan around. Among them:
- At least 5 percent of the seating at dining surfaces must be accessible, with surfaces 28 to 34 inches high and proper knee clearance.
- Accessible seating has to be dispersed throughout the dining space.
- An accessible route at least 36 inches wide has to reach all dining areas, including raised, sunken, and outdoor areas.
State and local codes can add requirements, so have your architect confirm the plan before you order furniture. Fixing a drawing costs far less than reordering tables.
Test the layout before you build
Tape the plan on the floor of the space at full size, or in an empty parking lot if the space isn't ready. Set out a few sample tables and chairs, then walk it with a full tray. Pull a chair out at a busy table and see if a server can still pass behind it. Sit at the worst table in the room, the one by the kitchen door or the restroom hallway, and decide whether you'd want to eat there. Every problem you find with tape costs nothing to fix.
Restaurant floor plan checklist
| Check | Why it matters |
|---|---|
| Kitchen sized to the menu before seats are added | A cramped line caps your covers |
| Table mix matched to party-size data | Fewer empty seats at full tables |
| Two-tops that combine | Flexibility for larger parties |
| No crossing paths at the pass, bar, or restrooms | Fewer collisions and delays |
| Server stations near every section | Shorter walks and faster side work |
| Host stand with sightlines to the room | Faster seating when tables open |
| ADA seating, heights, and routes confirmed | Code compliance and a welcoming room |
| Furniture samples tested in the space | Comfort, durability, and easy cleaning |
Before opening night, run a mock service so everyone learns their sections, stations, and routes before the first real guest sits down. It's a natural part of restaurant staff training, and it shows you which corners of the plan still pinch.
Once the layout is set, the furniture, lighting, and decor that fill it become your FF&E budget. Here's what FF&E means and how to budget it.
Already open and the room feels slow? Get your free AI assessment. Our AI reviews your answers, your Google listing and reviews, and your website, then emails you an evaluation of operations and marketing gaps.
How Monarch helps
We coordinate restaurant furniture and FF&E sourcing from the floor plan and table configuration to samples, ordering, freight, and install timing, working with your designer and builders. We do the work. You guide the process.
Want help with this?
Monarch handles furniture and ff&e for restaurants as part of one white-glove team. We do the work. You guide the process. See how furniture and ff&e works with us.
Get Your Free AI Assessment